The journey of Fused Deposition Modeling (FDM) printing, while seemingly straightforward, is a delicate balance of mechanical precision and thermal control. For beginners and advanced users alike, one term frequently encountered—and often misunderstood—is “purging.” The concept of a purge might seem like a wasteful or unnecessary pre-print ritual, but in reality, it is a critical process that determines the consistency, color purity, and ultimate success of a print job. Purging, in its essence, is the act of forcefully extruding a significant amount of molten 3D printer filament through the nozzle to clear out residual or degraded material, ensuring that the next layer starts with pure, fresh plastic flowing optimally. This comprehensive guide explores why purging is necessary, how it works across different 3D printer architectures, and how to optimize your purge settings for maximum quality and efficiency.
The Necessity of Purging: Contamination and Flow Consistency
A successful print depends entirely on the consistent volumetric flow of the molten material. Any disruption, contamination, or thermal instability within the hot end can lead to immediate print failure or severe cosmetic defects.
Clearing Residual and Degraded Materials
The primary reason for purging is to flush the melt chamber clean. This becomes necessary in several common scenarios:
- Filament Change: When swapping one color of 3D printer filament for another (e.g., black to white), residual color particles from the previous material remain in the nozzle. Failing to purge results in color streaks, visible contamination, and inconsistent aesthetics in the first several layers of the new print.
- Material Transition: When transitioning between two different polymer types (e.g., PETG to PLA, or Nylon to ABS), the thermal and chemical properties of the materials conflict. Residue from the previous material may burn or degrade at the new, higher temperature, or it may simply not melt fully, leading to clogs. A thorough purge ensures the new material is the only one present in the melt zone.
- Thermal Degradation: If a 3D printer has been left idle with the hot end heated for an extended period, the stationary 3D printer filament inside the nozzle can degrade (often characterized by a burnt or blackened appearance). This thermally damaged plastic will impede flow and ruin the start of a print unless purged completely.
Restoring Consistent Volumetric Flow
Beyond contamination, the purge process serves to “prime” the nozzle. After the 3D printer has heated up, the pressure within the melt chamber often stabilizes below the optimal level needed for immediate, consistent deposition. Purging rapidly builds up the necessary internal pressure, ensuring that when the printing of the model begins, the plastic flow is instant and uniform. This prevents gaps, adhesion issues, and weak spots in the crucial first layer.
Purging Mechanics: How the System Cleans Itself
Purging can occur in several forms, from manual operator actions to automatic G-code instructions executed by the 3D printer.
Manual Versus Automated Purging
In a manual purge, the user physically feeds the filament through the extruder before starting the print, watching the plastic flow until the color or material composition is visually pure. This is common when changing materials and is often aided by using a temporary “transition” material (like a clear or inexpensive PLA) to help scrape out the old residue.
Automated purging is the standard method used today. This is achieved via two main methods integrated into the G-code:
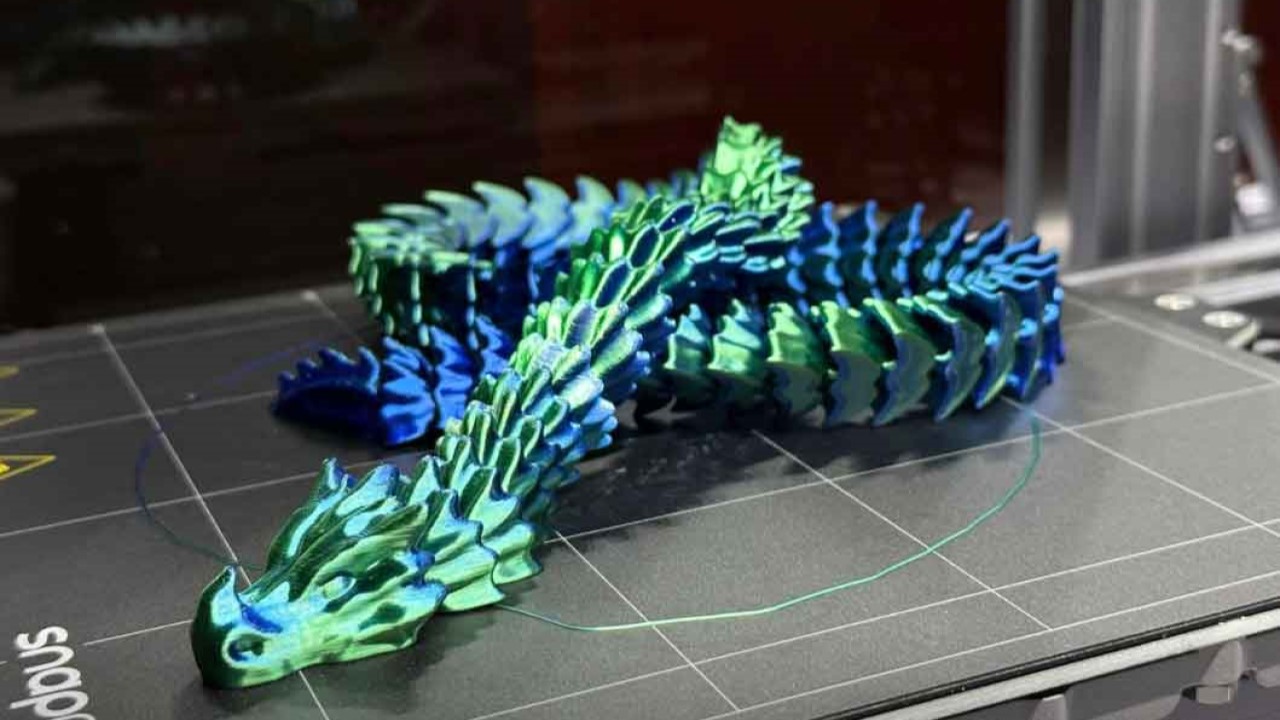
- Start-Up Purge Line: Before the 3D printer begins printing the model, the slicer software commands the print head to execute a straight line or a quick pattern along the edge of the build plate. This action is designed to build pressure and ensure fresh 3D printer filament is flowing freely before the nozzle moves to the actual part geometry.
- Purge Tower/Block (For Multi-Extrusion): In systems with multiple nozzles or a single nozzle that handles multiple filaments (like tool changers), a purge tower is a small, sacrificial block printed adjacent to the main model. Every time the 3D printer switches from one filament to another, it moves to the purge tower and extrudes a specified volume of the new material onto the block. This ensures any cross-contamination or pressure fluctuations from the tool change are confined to the scrap object, not the final part.
The Critical Role of Wipe and Retraction
Purging works in tandem with precise retraction and wipe settings. Retraction (pulling the filament back slightly before a move) prevents unwanted oozing, while a wipe (a small final move after extrusion) cleans the nozzle tip. The purge then provides the perfect opposite action—a prime—to immediately restore the necessary flow and pressure for the next layer. Without a proper purge following a prime or retraction sequence, the start of a new feature would often be under-extruded.
Optimizing Your Purge for Different Filaments
The required purge volume is not a one-size-fits-all setting; it must be tailored to the material’s thermal and viscosity properties.
- PLA: Requires a relatively smaller purge volume due to its low melt viscosity. It flushes easily, and its low temperature minimizes thermal degradation concerns.
- PETG: Due to its sticky and stringy nature, PETG often requires a slightly longer purge, particularly when changing to a material with lower adhesion, to ensure the nozzle tip is clean and clear of any residual stickiness.
- High-Temperature and Viscous Filaments (Nylon, Polycarbonate): These materials require the largest and longest purge volumes. Because the plastic is highly viscous and has a long melt zone, it resists rapid flushing. Transitioning from these materials necessitates extruding enough new 3D printer filament to physically displace every millimeter of the old material from the melt chamber and nozzle tip.
Minimizing Waste and Maximizing Efficiency
While purging is necessary, excessive purging is wasteful. Modern slicing software allows for sophisticated calibration to strike a balance:
- Calibrated Purge Volume: Through flow rate testing, users can determine the precise volume () needed to completely clear the melt zone for a specific material and temperature. This volume should be entered as a setting in the slicer to minimize waste.
- The Wipe Tower Strategy: For multi-color prints, the wipe tower is a calculated efficiency. The geometry of the tower is determined by the required purge volume between material swaps. While it uses scrap plastic, it ensures the integrity of the main print, which is often a worthwhile trade-off for complex jobs. Some 3D printer systems incorporate internal purging chutes to manage this waste automatically.
Conclusion
The purge process is not a troubleshooting step but a fundamental component of the FDM workflow, essential for print reliability and cosmetic quality. It addresses the unavoidable challenges of material transition, thermal degradation, and melt-chamber pressure stabilization within the 3D printer’s extruder system. By diligently employing a sufficient purge routine—whether through an automated start-up line, a dedicated purge tower, or a manual pre-print extrusion—and tailoring the volume to the specific 3D printer filament being used, operators can virtually eliminate contamination, nozzle clogs, and flow inconsistencies, thereby ensuring that every print begins with the cleanest possible start and finishes with professional-grade quality.


